

Our products
We offer a wide range of product lineups
-
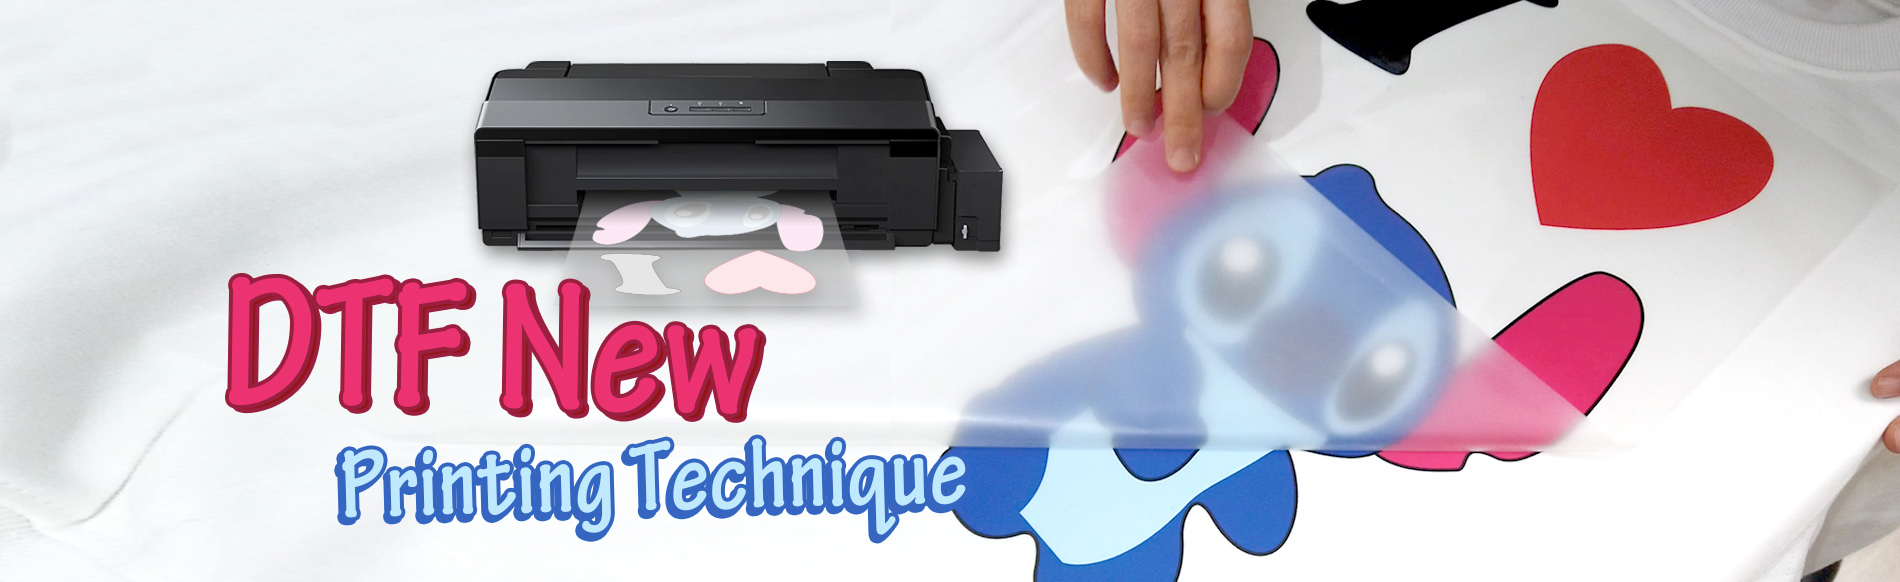
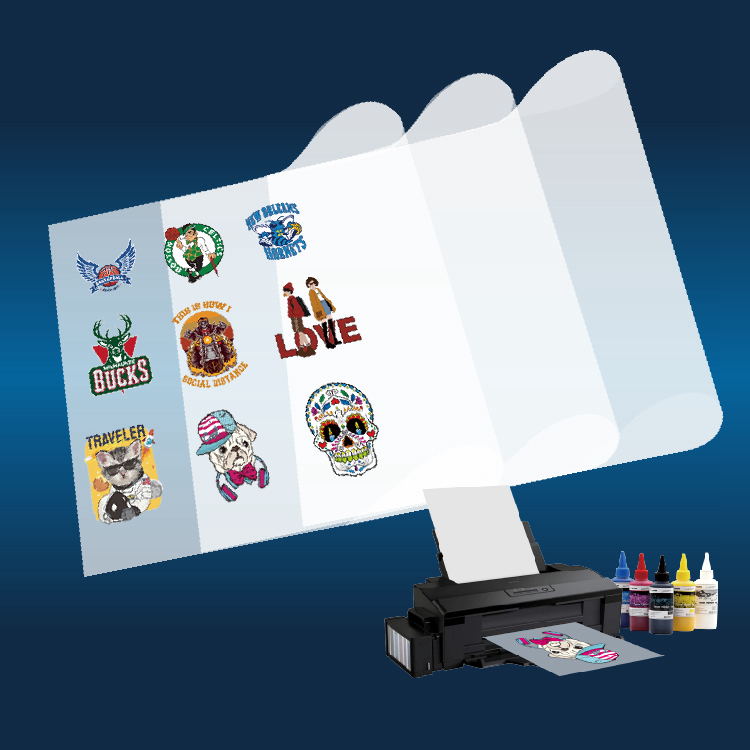
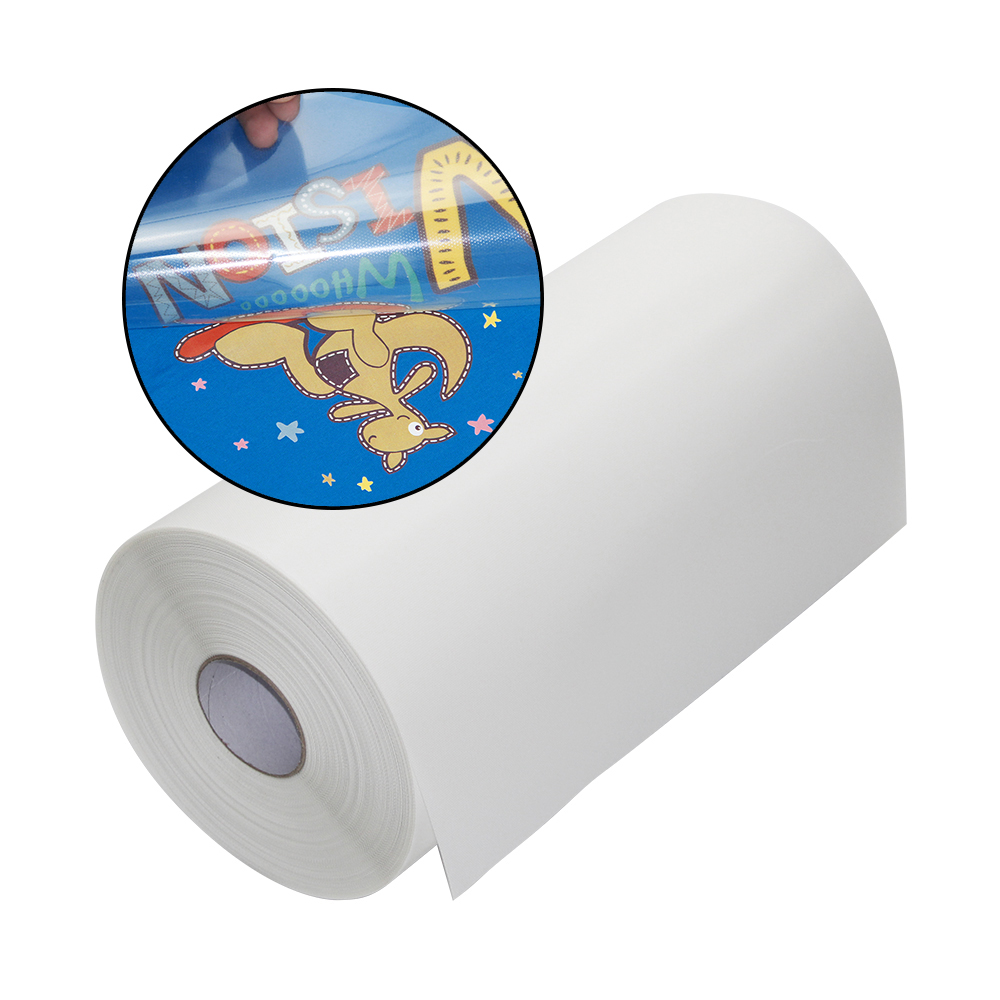
DTF PET transfer film for T-Shirt Printing
-
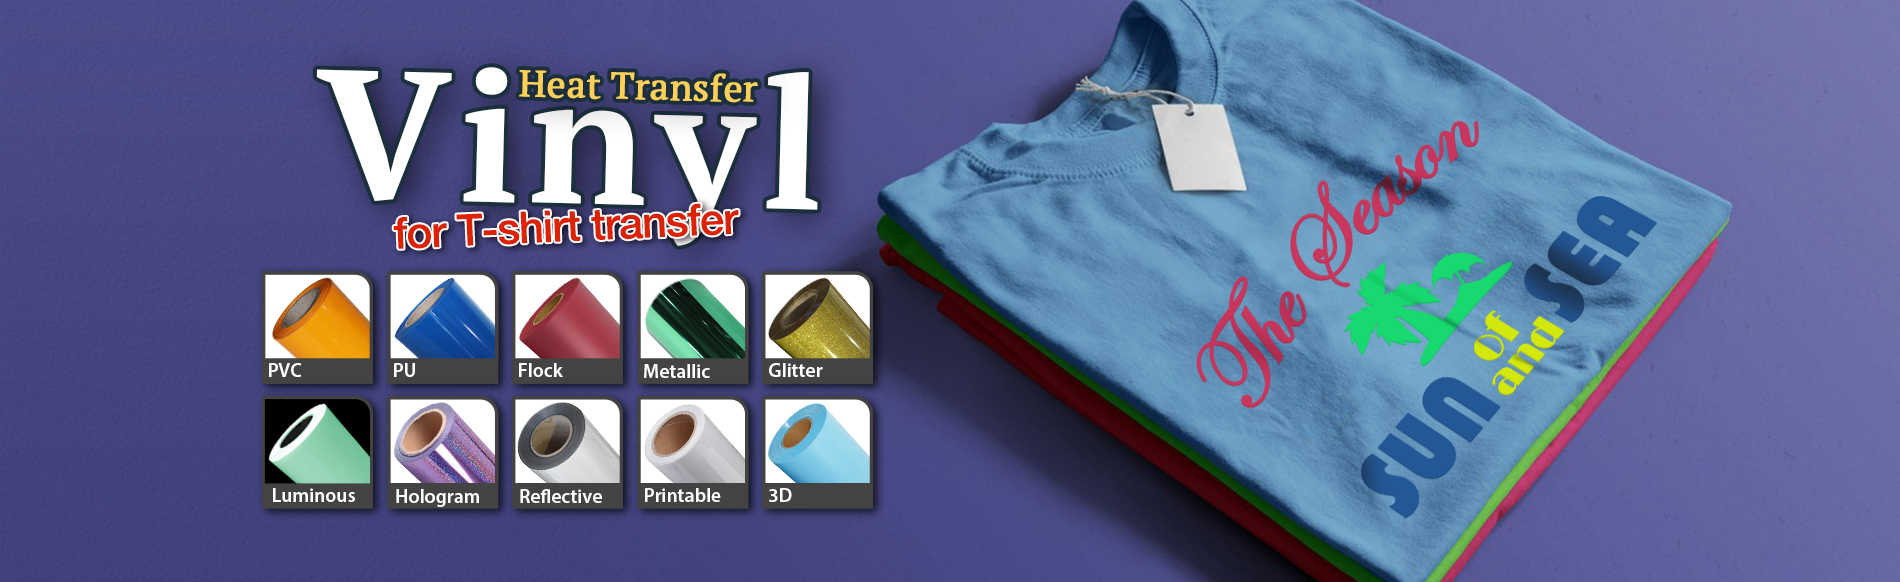
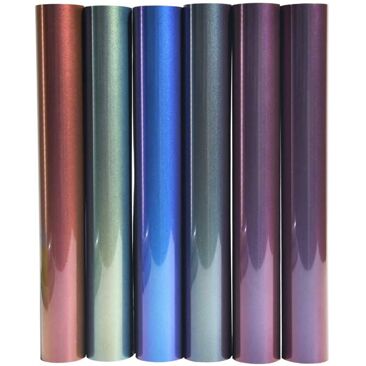
Vision Chameleon heat transfer vinyl for tshirt printing
-
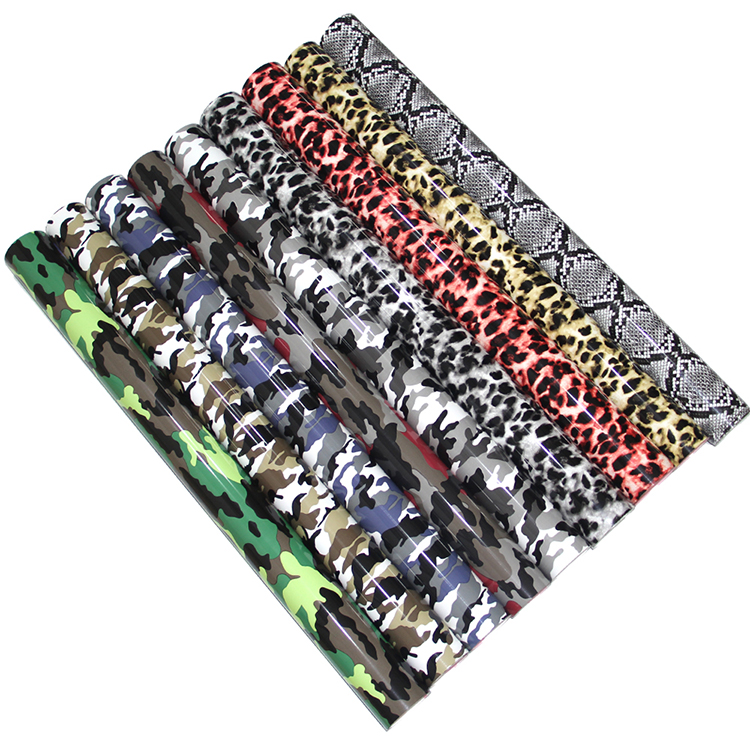
PU Fashionable Pattern Heat Transfer Vinyl For Tshirt
-
PU Vent Hole heat transfer vinyl for t shirts bags shoes
-
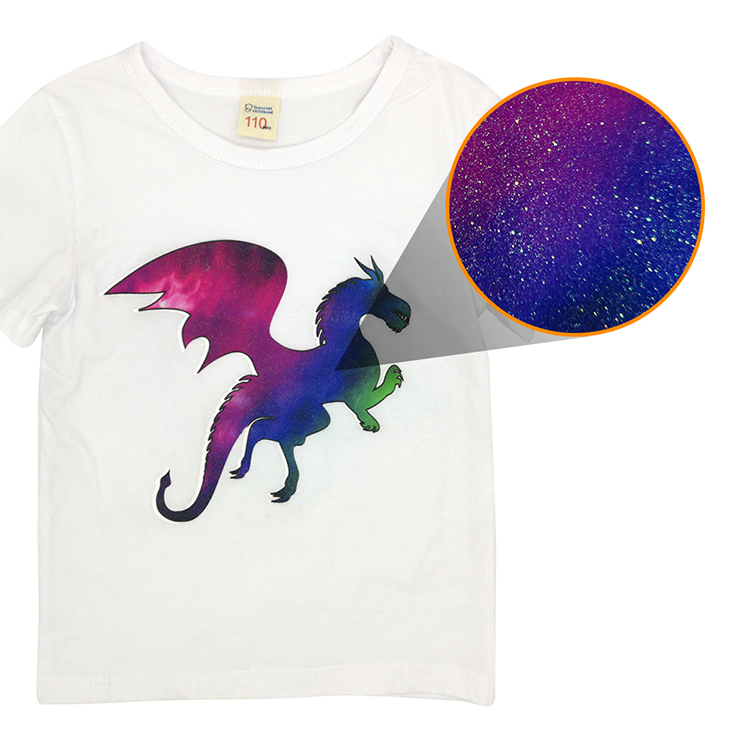
inkjet glitter dark transfer paper
-
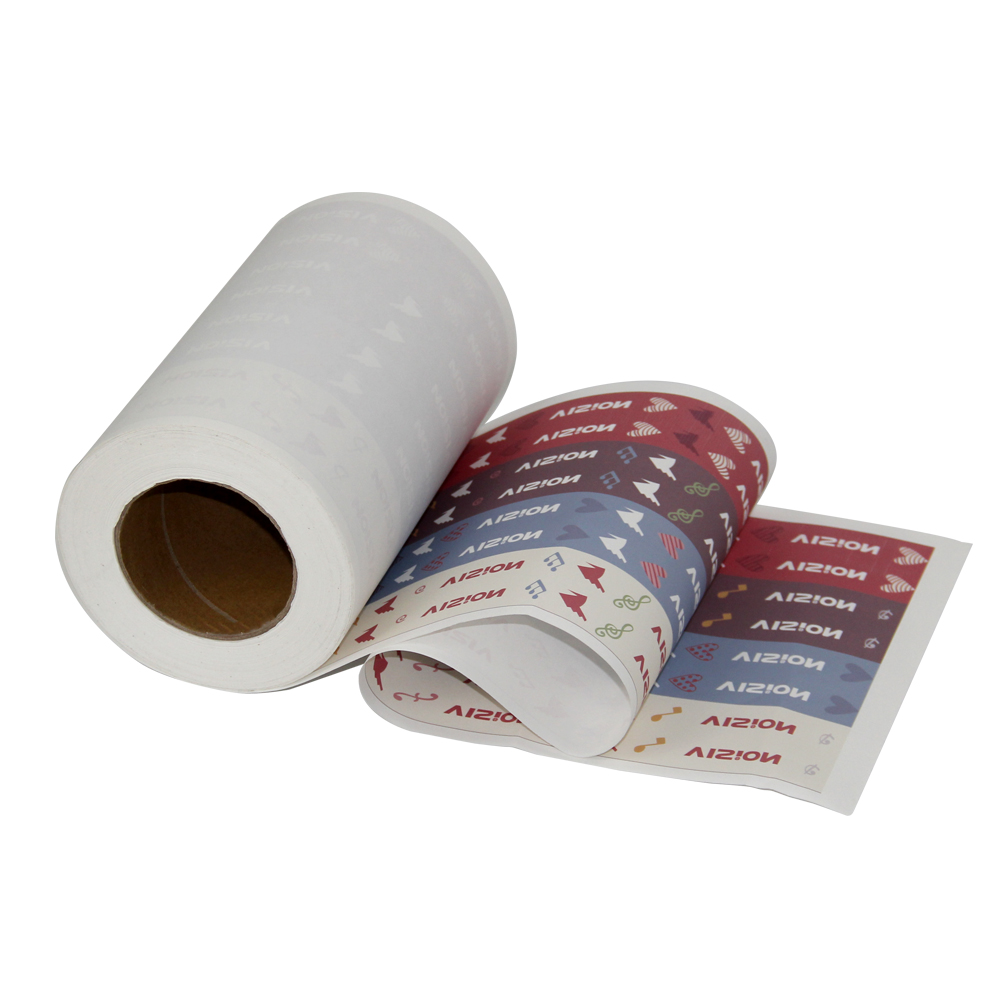
Vision heat transfer tape
-
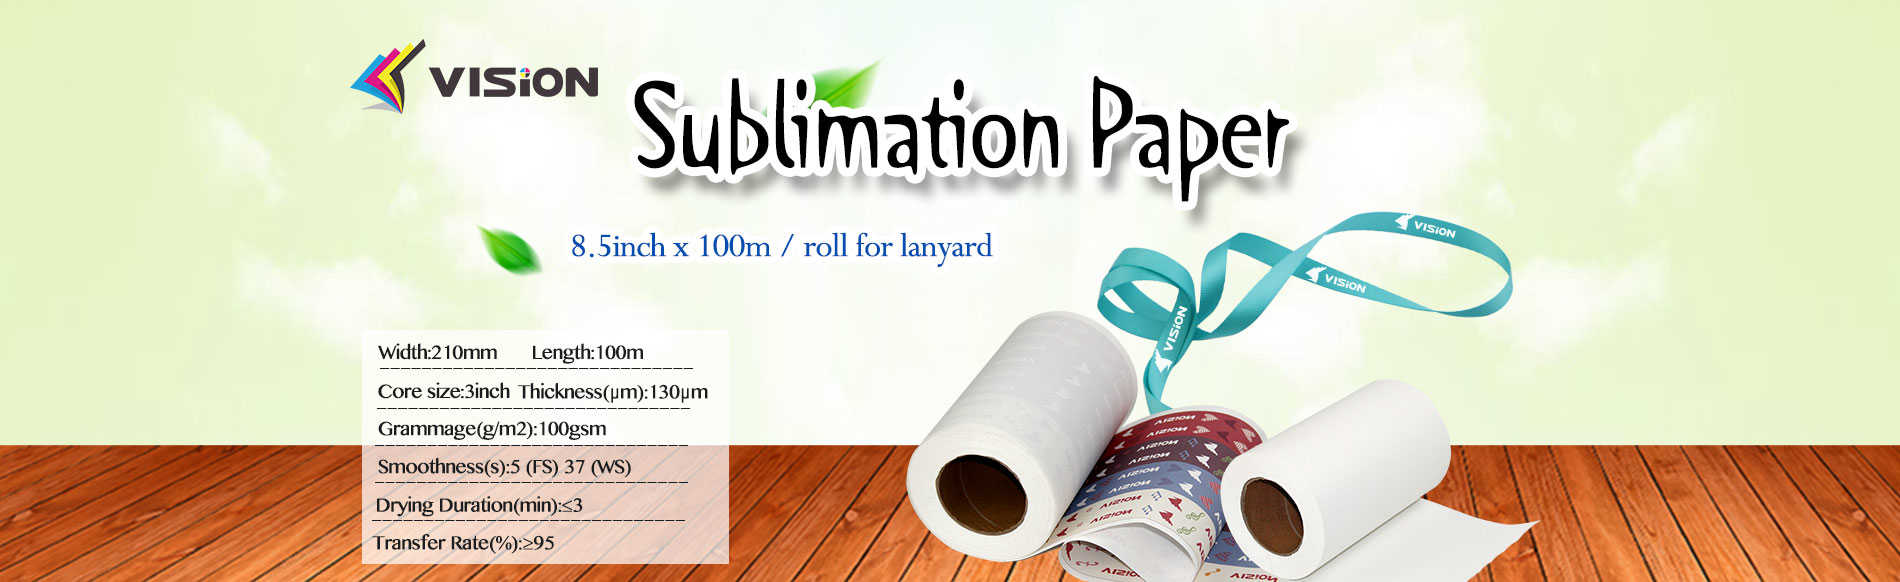
0.21x100M sublimation paper for lanyard
-
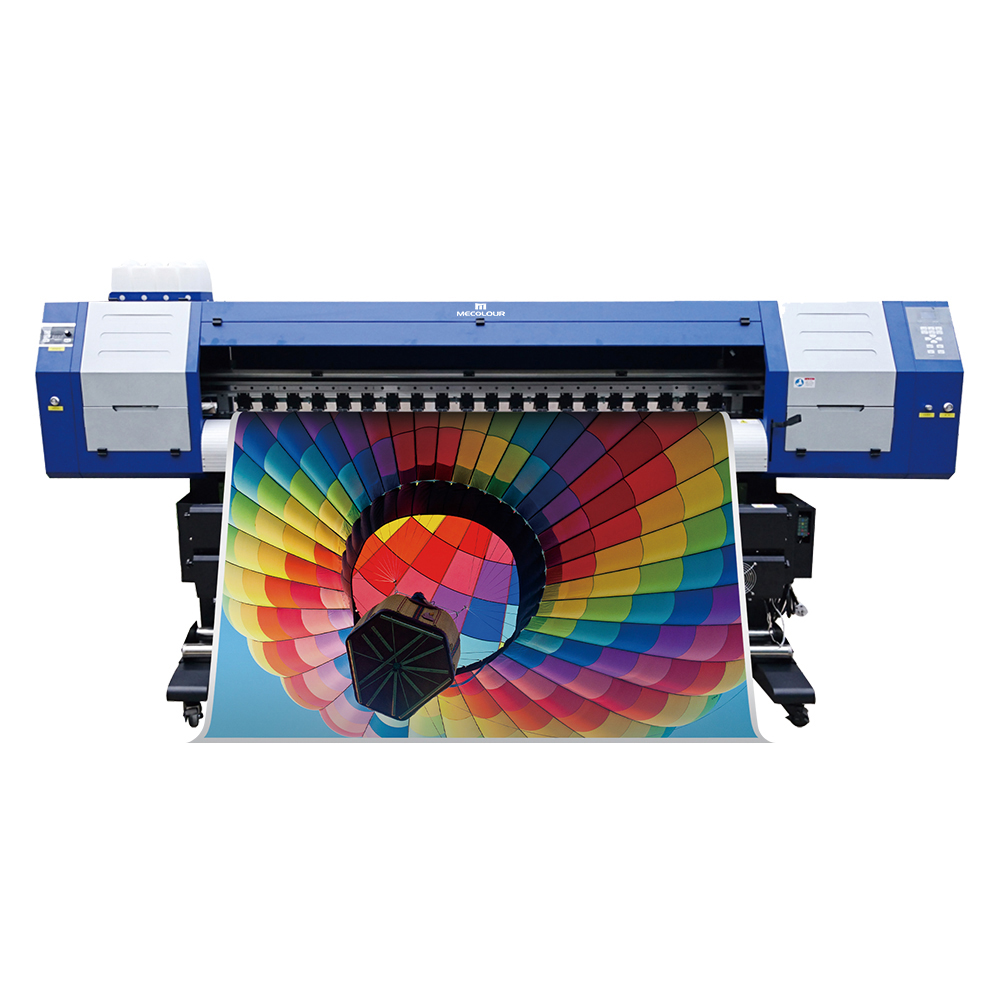
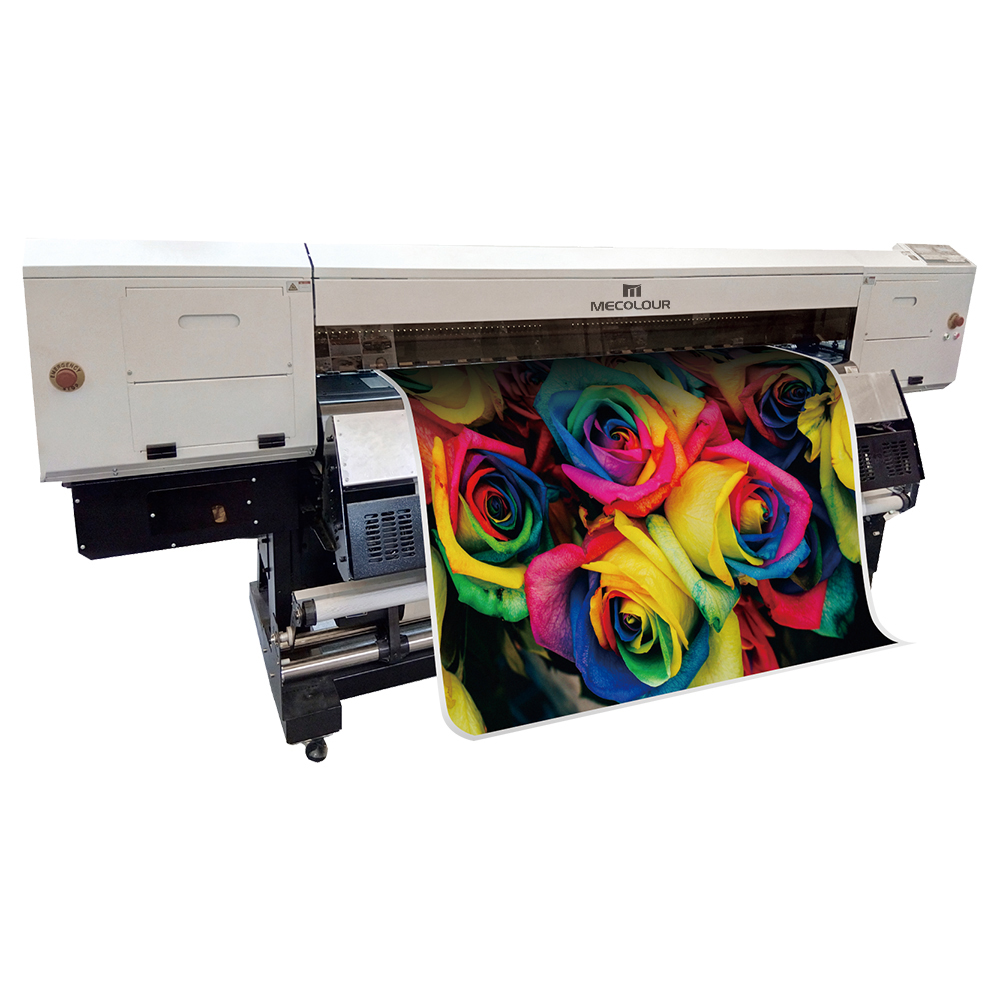
ME-1800DHT 1.8m 1440dpi Dual DX5 print head sublimation printer
-
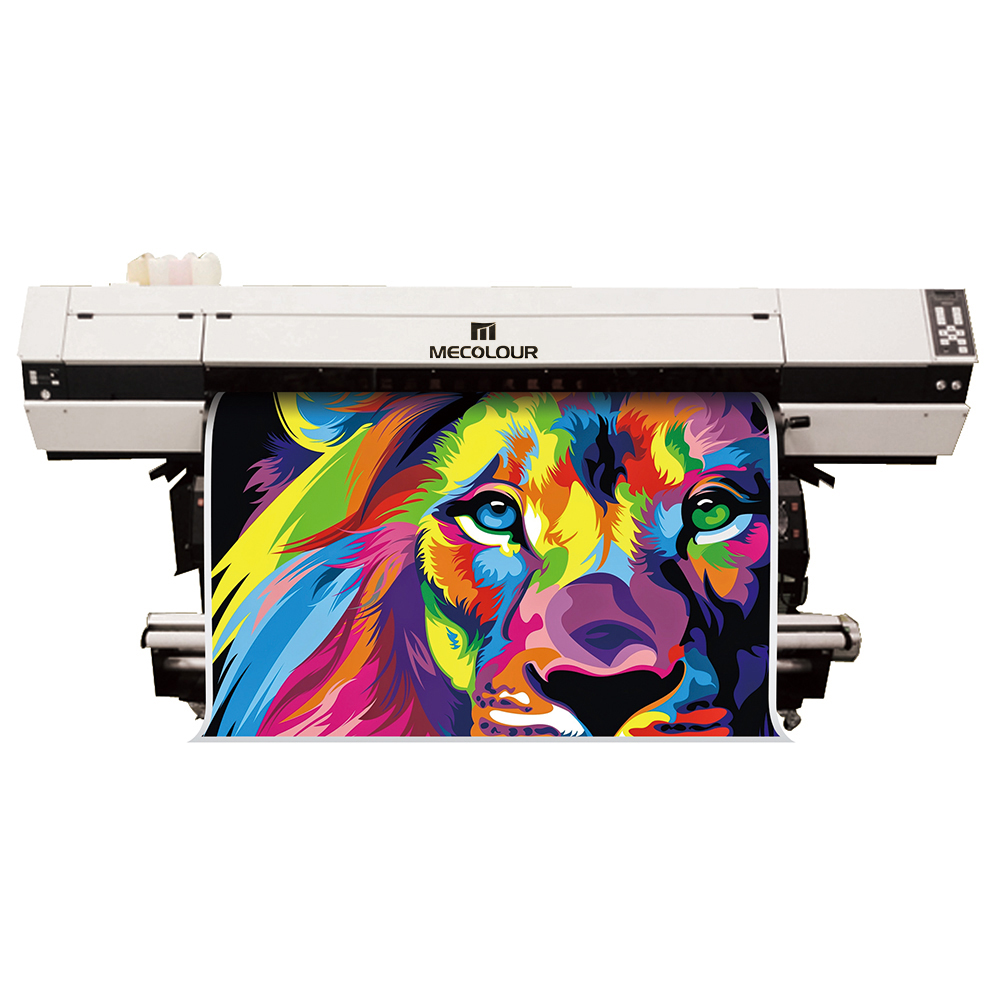
ME-1800THT 1.8m Large format three DX5 print head sublimation printer
-
ME-1800FHT 1.8m four DX5 print head sublimation printer for sublimation printing
-
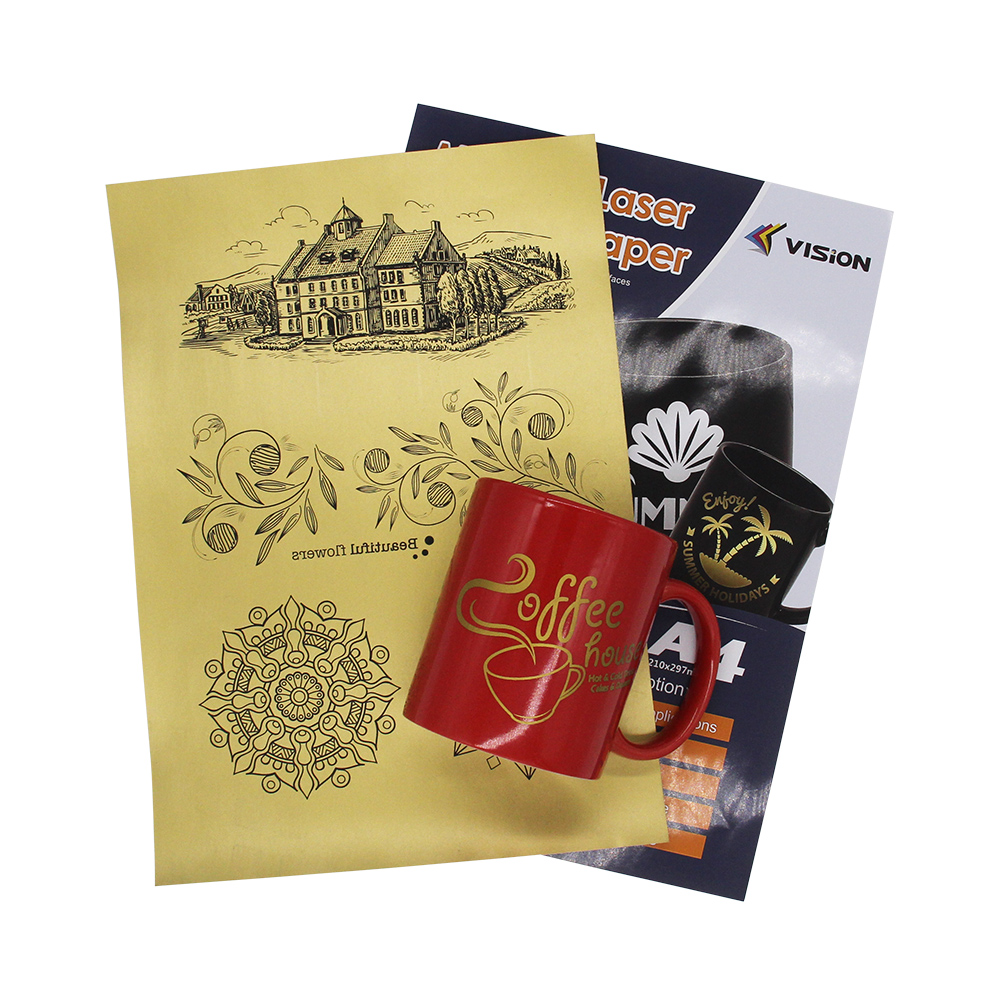
Metallic gold laser transfer paper on uncoated hard surface
-
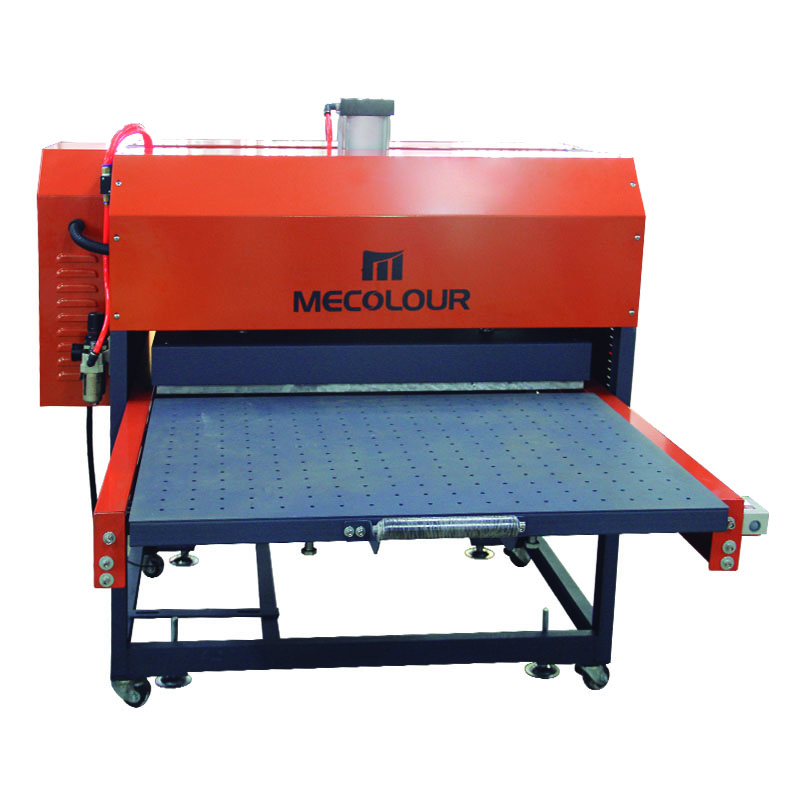
Semi-automatic pneumatic double stations sublimation heat press machine 80X100cm

NEWSLETTER
Please leave to us and we will be in touch within 24hours.
WHO WE ARE

We offer a wide range of product lineups.
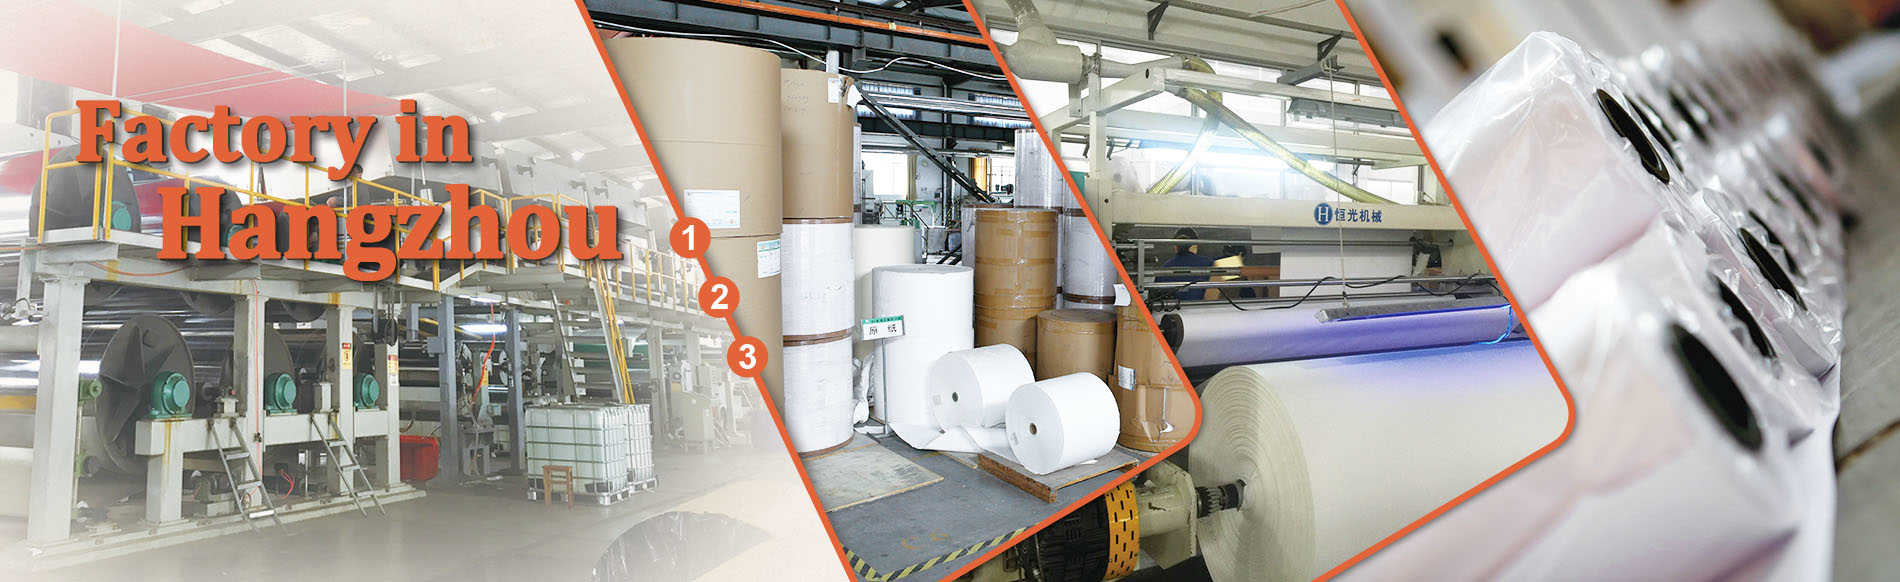
Shanghai Vision Digital Printing Co.,Ltd,founded in 2008 ,which has a factory in Hangzhou, trade company in Shanghai, is a professional sublimation transfer paper suppliers. Our main products including sublimation transfer paper, sublimation ink ,heat transfer vinyl and transfer paper for cottons. Well-equipped facilities and excellent quality control throughout all stages of production,so all of our products comply with international quality standards and are well sold all over the world such as Europe, Southeast Asia and South America.Now in many large digital printing exhibition, like FESPA and SGIA,you will see our company.
-
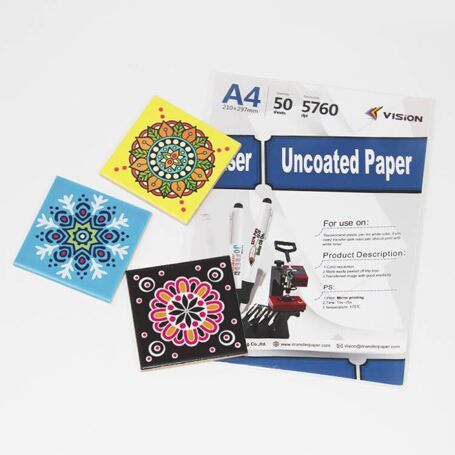
Laser uncoated transfer paper for hard surface
This is a transfer paper that can be directly transferred to objects without a transferable layer.
-
Further Knowledge Of VISION Dye Sublimation Printing
The standard custom printed fabric for dye sublimation printing is white polyester fabric.
-

Tattoo Sticker/Body Sticker
The tattoo sticker is composed of two parts: a laser tattoo sticker and a tattoo sticker transfer film.